
Lebanon · dinner
Kibbeh Bil Sanieh
Lebanon through one enduring dish.
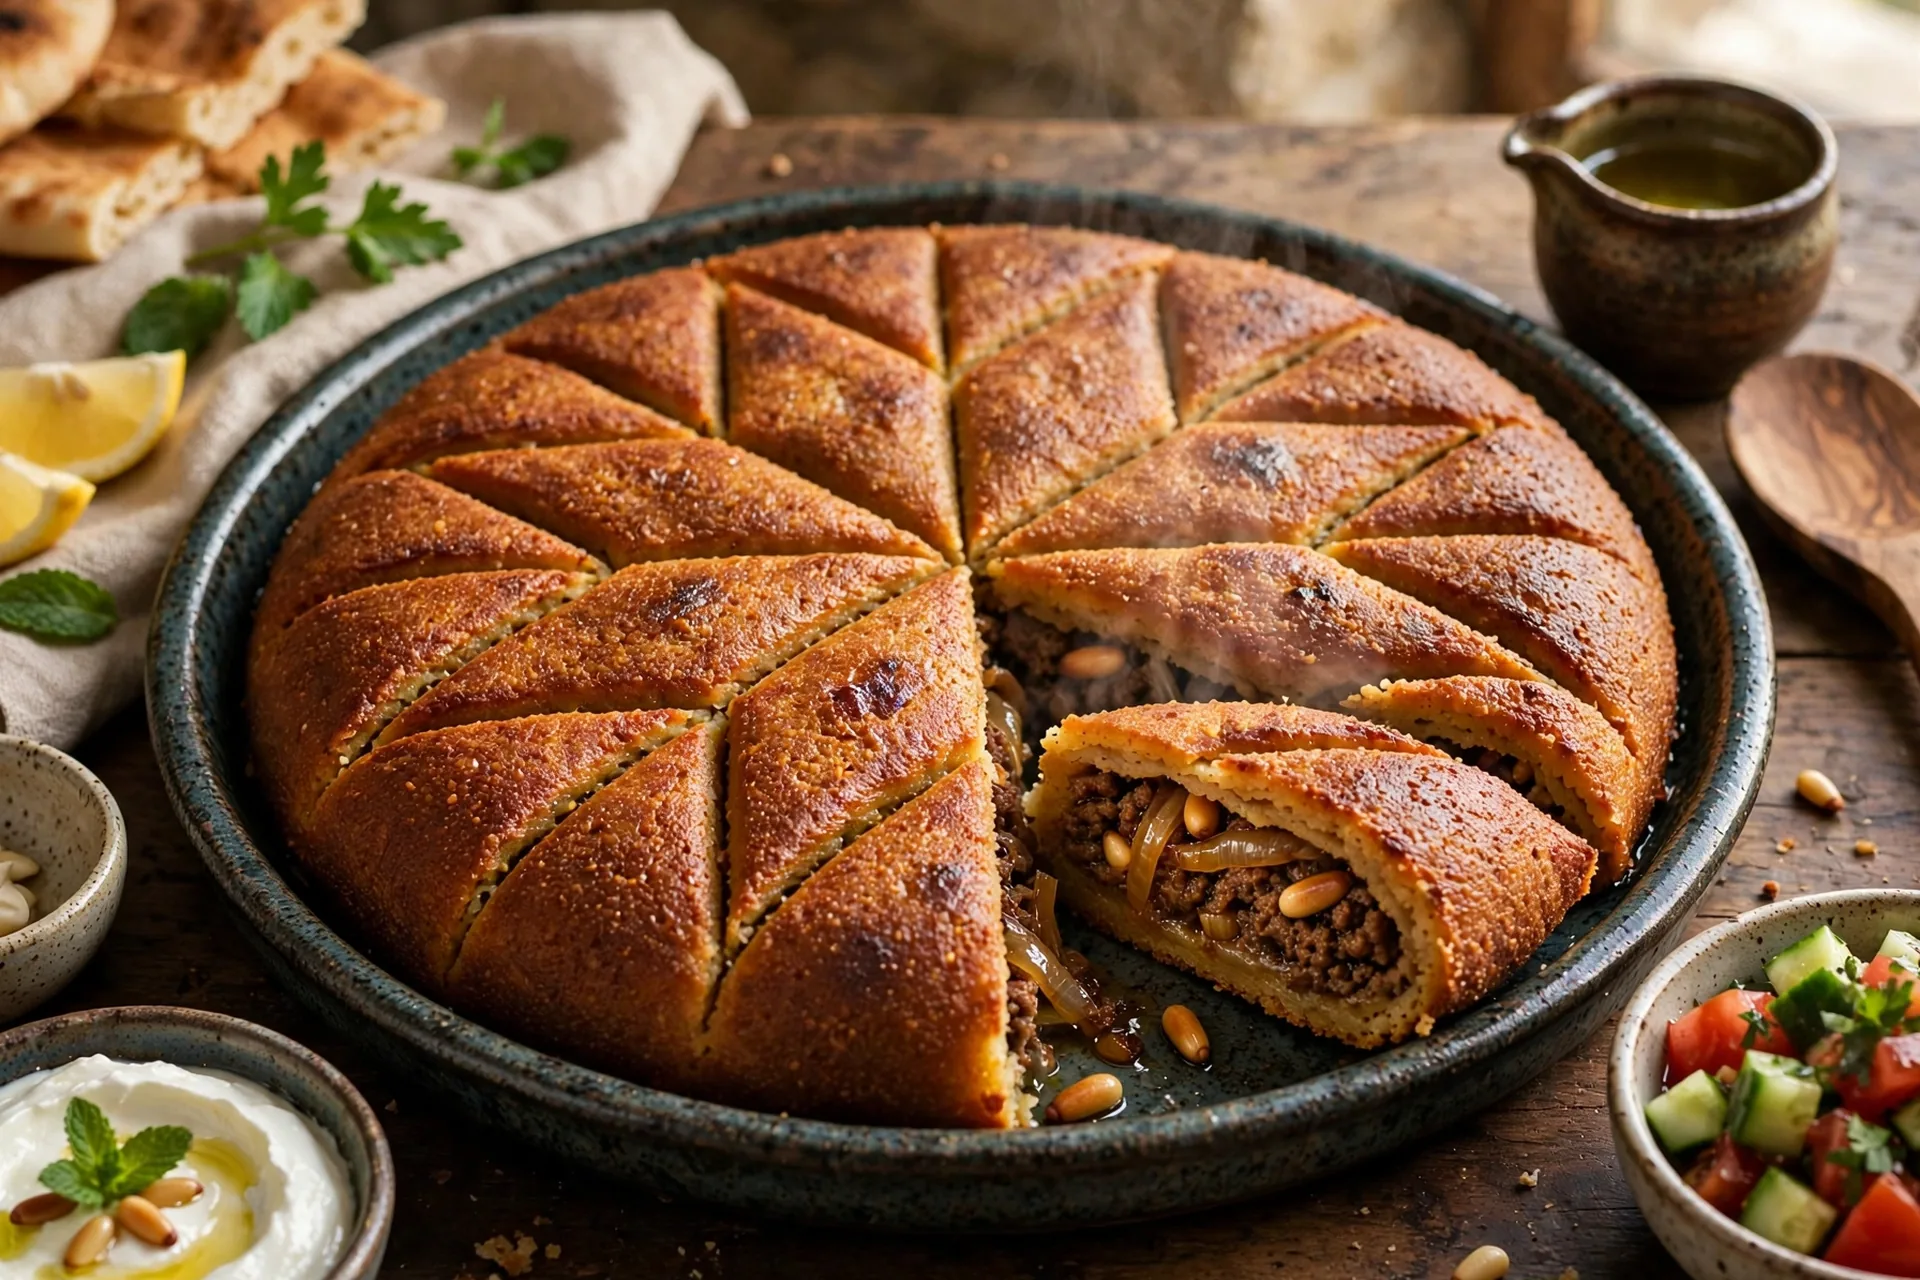
Kibbeh bil sanieh is Lebanese baked layered kibbeh: a fine bulgur-and-lean-meat shell surrounds a cooked onion, meat and pine-nut filling, then the tray is scored and baked until deeply golden.
- Total
- 85 min
- Difficulty
- Medium
- Serves
- 8
- Steps
- 9
The dish
Place first. Then the plate.
Kibbeh bil sanieh is the tray-baked member of Lebanon’s broad kibbeh family. Fine bulgur and very lean beef or lamb are kneaded with onion and spices into the shell, while a separately cooked meat-and-onion filling often includes pine nuts and lemon. The tray is assembled in layers, smoothed with cold water, scored before baking and cooked until the top develops a deep golden crust. Family seasoning varies, including cinnamon, allspice, cayenne and mint.
Explore LebanonAt a glance
Origin
Lebanon
Region
Lebanon / Levant
Meal
dinner
Guided steps
9
Dish
Kibbeh Bil Sanieh
Cuisine
Lebanese cuisine
Food type
Celebration food · Dinner
Technique
Layer · Roast or bake · Knead mixture
Cook the recipe
In the kitchen
Start with the ingredients, then follow the Method in order. Open cooking tips only when you need extra help; the story and references can wait until you are ready.
- Total
- 85 min
- Serves
- 8
- Level
- Medium
- Visual cues
- 9
Ingredients
Serves 8- 250 gfine bulgurfine #1-style bulgur
- 500 glean ground beefvery lean; for the kibbeh shell
- 350 glean ground beeffor the cooked filling
- 1onionpuréed or very finely grated for the shell
- 1yellow onionfinely diced for the filling
- 60 gpine nutslightly toasted
- 1 1/2 tspground cinnamondivided between shell and filling
- 1 tspblack pepperdivided
- 2 tspsaltdivided, plus more to taste
- 2 tbspextra virgin olive oilfor the filling and greasing
- 1 tbspfresh lemon juicefor the filling
- 30 gunsalted buttersmall pieces for the scored top
- 1/2 cupice waterfor wetting hands; use only as needed
Optional
- 1 tspground allspiceoptional family-style seasoning
- 1/4 tspcayenne pepperoptional
Everything ready? Continue straight into the cooking steps.
Start methodMethod
9 steps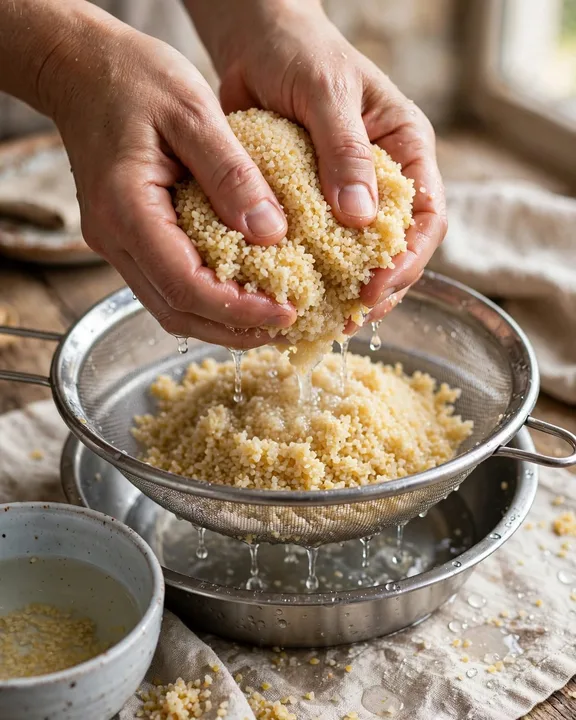 Step 01
Hydrate the fine bulgur, then squeeze it very dry
25 min
Rinse the fine bulgur, cover it with cool water and soak only until softened, about 20–30 minutes.
Rinse the fine bulgur, cover it with cool water and soak only until softened, about 20–30 minutes. Drain thoroughly, then squeeze out visible water by hand or in a clean cloth. The grain should be pliable but not waterlogged.
Look for
The bulgur is soft enough to chew but no free water drips when a handful is squeezed firmly.
Kitchen note
Fine bulgur absorbs quickly. Excess water makes the shell mushy and difficult to layer, so squeeze it far drier than you would for a salad.
 Step 02
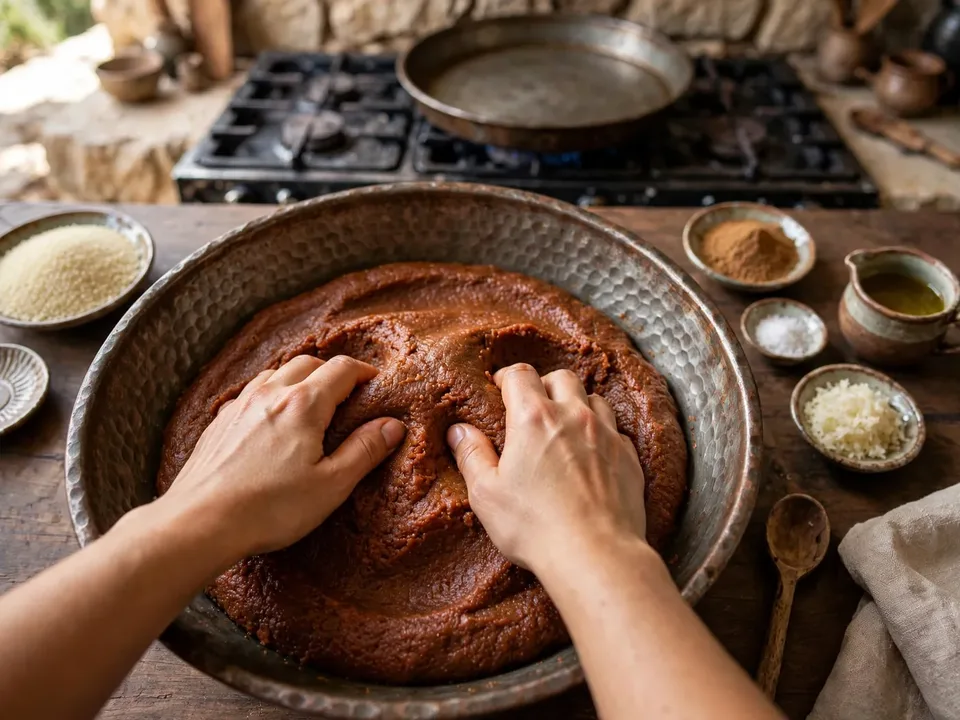
Knead the kibbeh shell until smooth and cohesive
10 min
Combine the very lean shell meat with puréed onion, cinnamon, optional allspice or cayenne, black pepper, salt and about half of the bulgur.
Combine the very lean shell meat with puréed onion, cinnamon, optional allspice or cayenne, black pepper, salt and about half of the bulgur. Knead firmly with cold damp hands until the mixture begins to bind, then work in the remaining bulgur. Add only small dips of ice water as needed to keep the mixture supple.
Look for
A flattened piece holds together with smooth edges and no crumbling, but the mixture is not wet or sticky like paste.
Kitchen note
Use ultra-lean meat for the shell and keep everything cool. Fatty meat or too much water makes the mixture greasy and loose instead of smooth and cohesive.
 Step 03
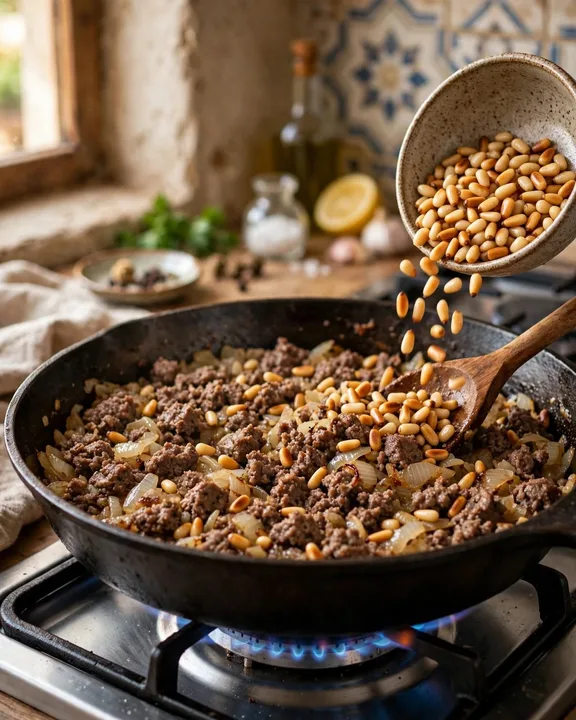
Cook the onion-meat filling and finish with pine nuts
12 min
Heat the olive oil over medium heat.
Heat the olive oil over medium heat. Cook the diced onion with a pinch of salt until soft and translucent. Add the filling meat, cinnamon, black pepper and optional allspice; break it into small pieces and cook until just browned. Stir in lemon juice and toasted pine nuts, then cook only until no loose liquid remains.
Look for
The onion is soft, the meat is browned into small pieces and the pan shows no watery liquid when the filling is pushed aside.
Kitchen note
The filling should be cooked and savoury but not greasy or wet. Moisture trapped between the shell layers makes the baked tray separate when cut.
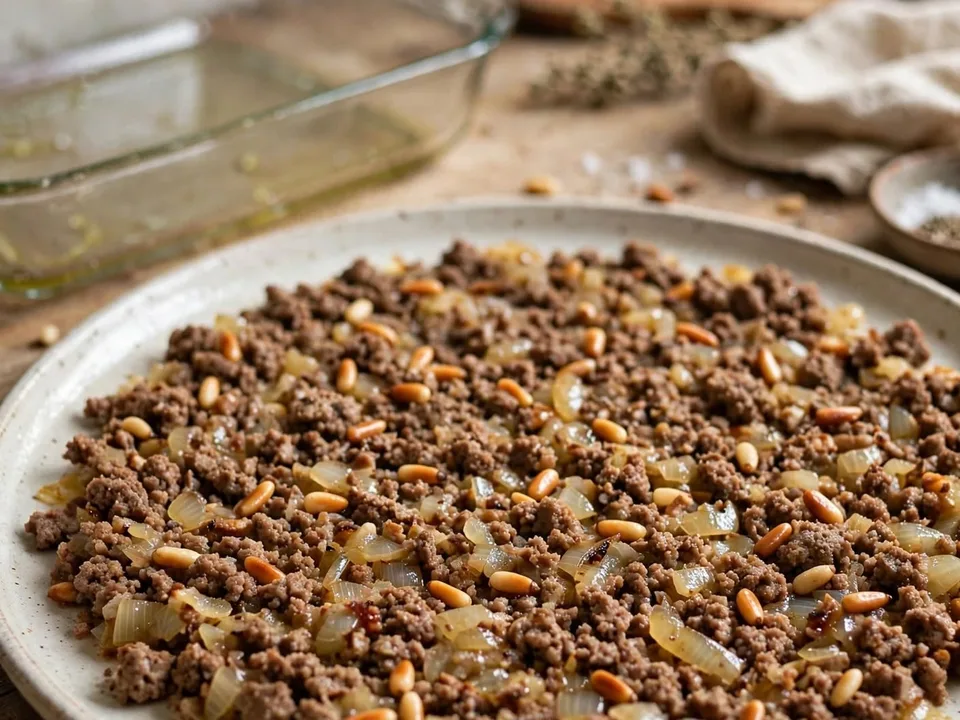 Step 04
Cool the filling before it touches the raw shell
10 min
Spread the cooked filling on a plate or tray and let it cool until no longer hot.
Spread the cooked filling on a plate or tray and let it cool until no longer hot. Meanwhile heat the oven to 200°C / 400°F and oil the baking dish lightly.
Look for
The filling is warm or room temperature rather than steaming, and any residual fat is glossy rather than watery.
Kitchen note
Hot filling softens the lower shell and makes the top layer harder to place. Cooling also reduces condensation inside the tray.
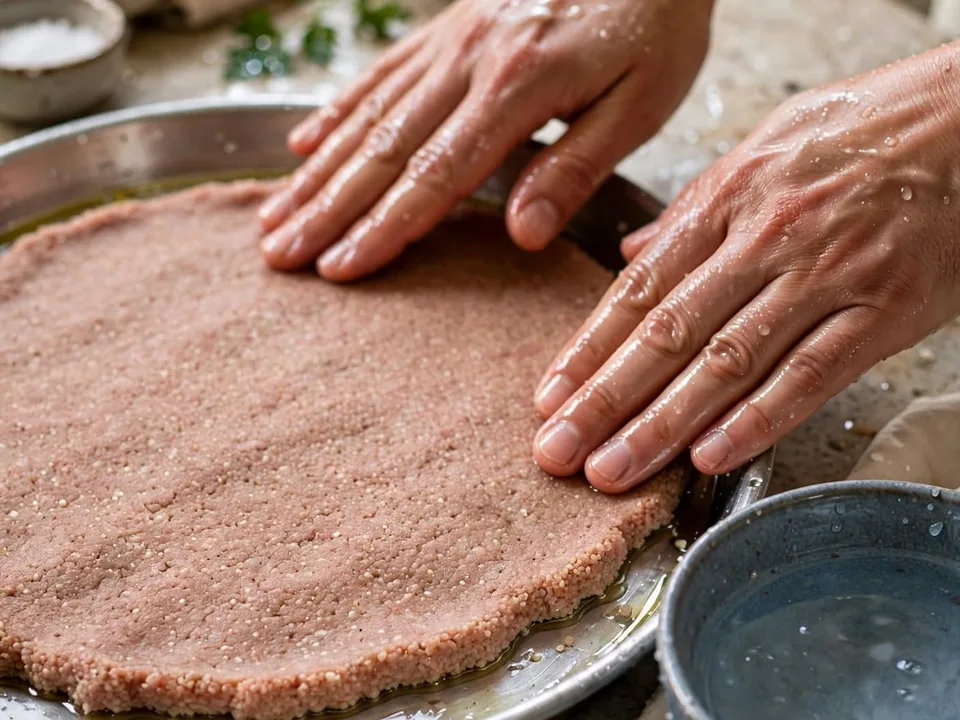 Step 05
Press an even bottom layer with cold damp hands
5 min
Use about half of the shell mixture to cover the bottom of the oiled dish in a thin, even layer.
Use about half of the shell mixture to cover the bottom of the oiled dish in a thin, even layer. Wet your hands with ice water as needed and smooth the surface and corners without compressing the meat into a dense brick.
Look for
The base is level, reaches every corner and has no deep cracks or exposed patches of pan.
Kitchen note
Aim for even thickness from centre to edge. Thin bare spots cook dry while thick areas stay heavy.
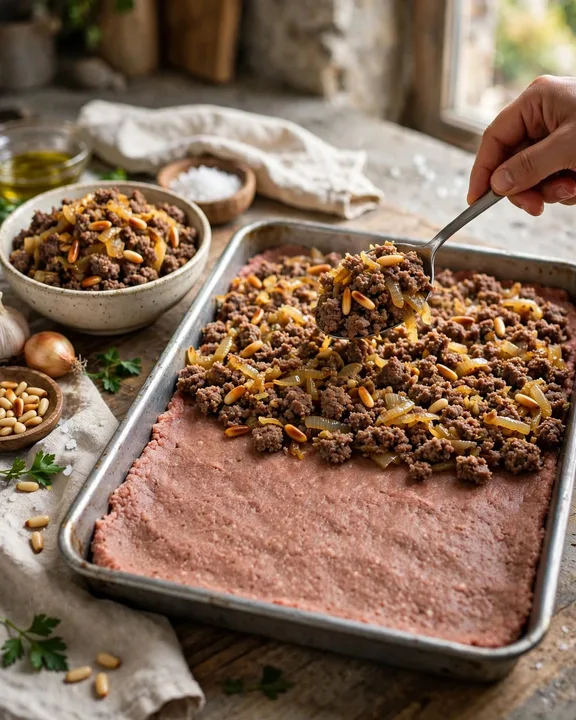 Step 06
Spread the cooled filling without compacting it
3 min
Distribute the cooled meat-onion-pine-nut filling evenly across the base, leaving a narrow clean margin at the edge so the upper and lower shell layers can meet.
Distribute the cooled meat-onion-pine-nut filling evenly across the base, leaving a narrow clean margin at the edge so the upper and lower shell layers can meet.
Look for
The filling covers the base evenly, stays away from the outermost edge and contains no wet pockets.
Kitchen note
Do not press the filling hard into the base; an even loose layer makes the final slice tender rather than dense.
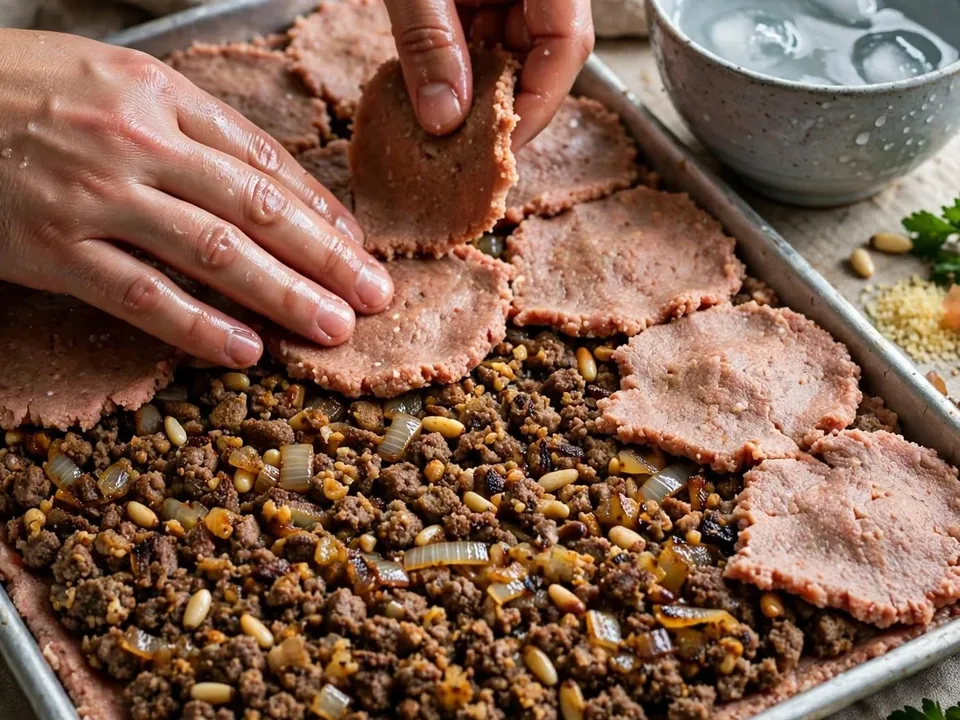 Step 07
Build the top layer in thin pieces and smooth the seams
7 min
Flatten small portions of the remaining shell mixture between cold wet palms and lay them side by side over the filling.
Flatten small portions of the remaining shell mixture between cold wet palms and lay them side by side over the filling. Patch gaps with small pieces, then use damp fingers to smooth the seams and gently seal the top layer to the edges.
Look for
The filling is completely enclosed beneath an even top with no open seams or exposed filling.
Kitchen note
Trying to drag one large slab of raw kibbeh over the filling usually tears it. Small flattened pieces are much easier to control.
 Step 08
Score the tray and dot it with butter before baking
4 min
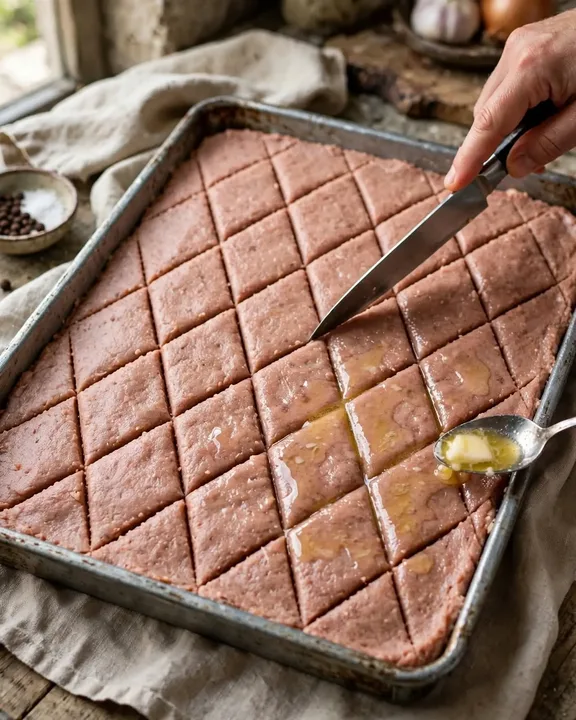
With a sharp knife, score the top into diamonds or squares, cutting through the upper shell to the filling but not all the way through the bottom layer.
With a sharp knife, score the top into diamonds or squares, cutting through the upper shell to the filling but not all the way through the bottom layer. Dot the surface lightly with butter, especially over the scored pieces.
Look for
The geometric cuts are clean and even, the top remains intact and small butter pieces are distributed without flooding the tray.
Kitchen note
Score before baking. The pattern guides clean portions and allows a little butter to season and protect the top as it browns.
 Step 09
Bake to a deep golden crust, then rest before cutting
50 min
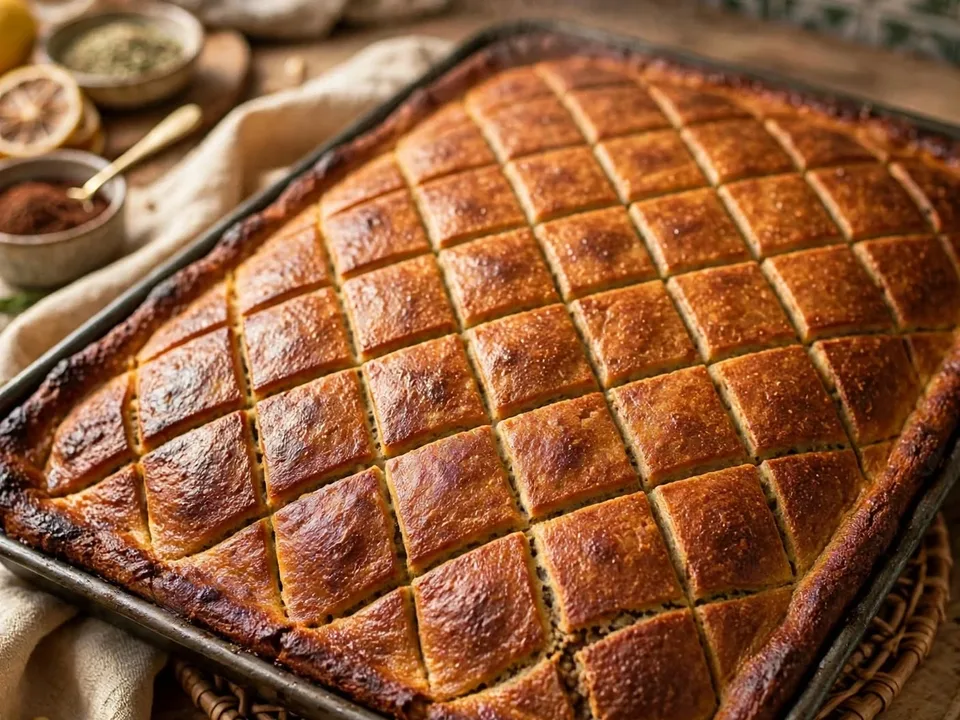
Bake in the centre of the oven until cooked through and deeply golden on top, about 40–50 minutes.
Bake in the centre of the oven until cooked through and deeply golden on top, about 40–50 minutes. Check the centre of the tray, not only the browned edges: the shell meat should be fully cooked with no raw-looking centre and the filling should be piping hot. If the top is already deeply browned before the centre is ready, cover loosely with foil and continue baking. If needed, use a brief broil only at the end to deepen a pale crust. Rest for about 10 minutes before cutting along the score lines and serving.
Look for
The top is deep golden-brown, the scored pieces hold clean edges and the filling is hot with no raw-looking centre.
Kitchen note
Colour is useful but it is not the only doneness test because this dish contains raw ground meat in the shell. Check the centre before serving. The 10-minute rest then lets the layers settle so the first piece lifts cleanly instead of collapsing.
After cooking
Explore the dish beyond the method.
Story, place and references are here for discovery, so they stay out of the way while you cook.
Culture & tradition
The story behind the dish
Origins, evolution and everyday life—read together as part of the recipe's culinary record.
Origins
Kibbeh is deeply associated with Lebanese food culture and appears in raw, fried, grilled, yogurt-cooked and baked forms.
How it evolved
Kibbeh bil sanieh adapts the same meat-bulgur shell used for other kibbeh into a layered baking-dish format with a cooked filling.
Its place today
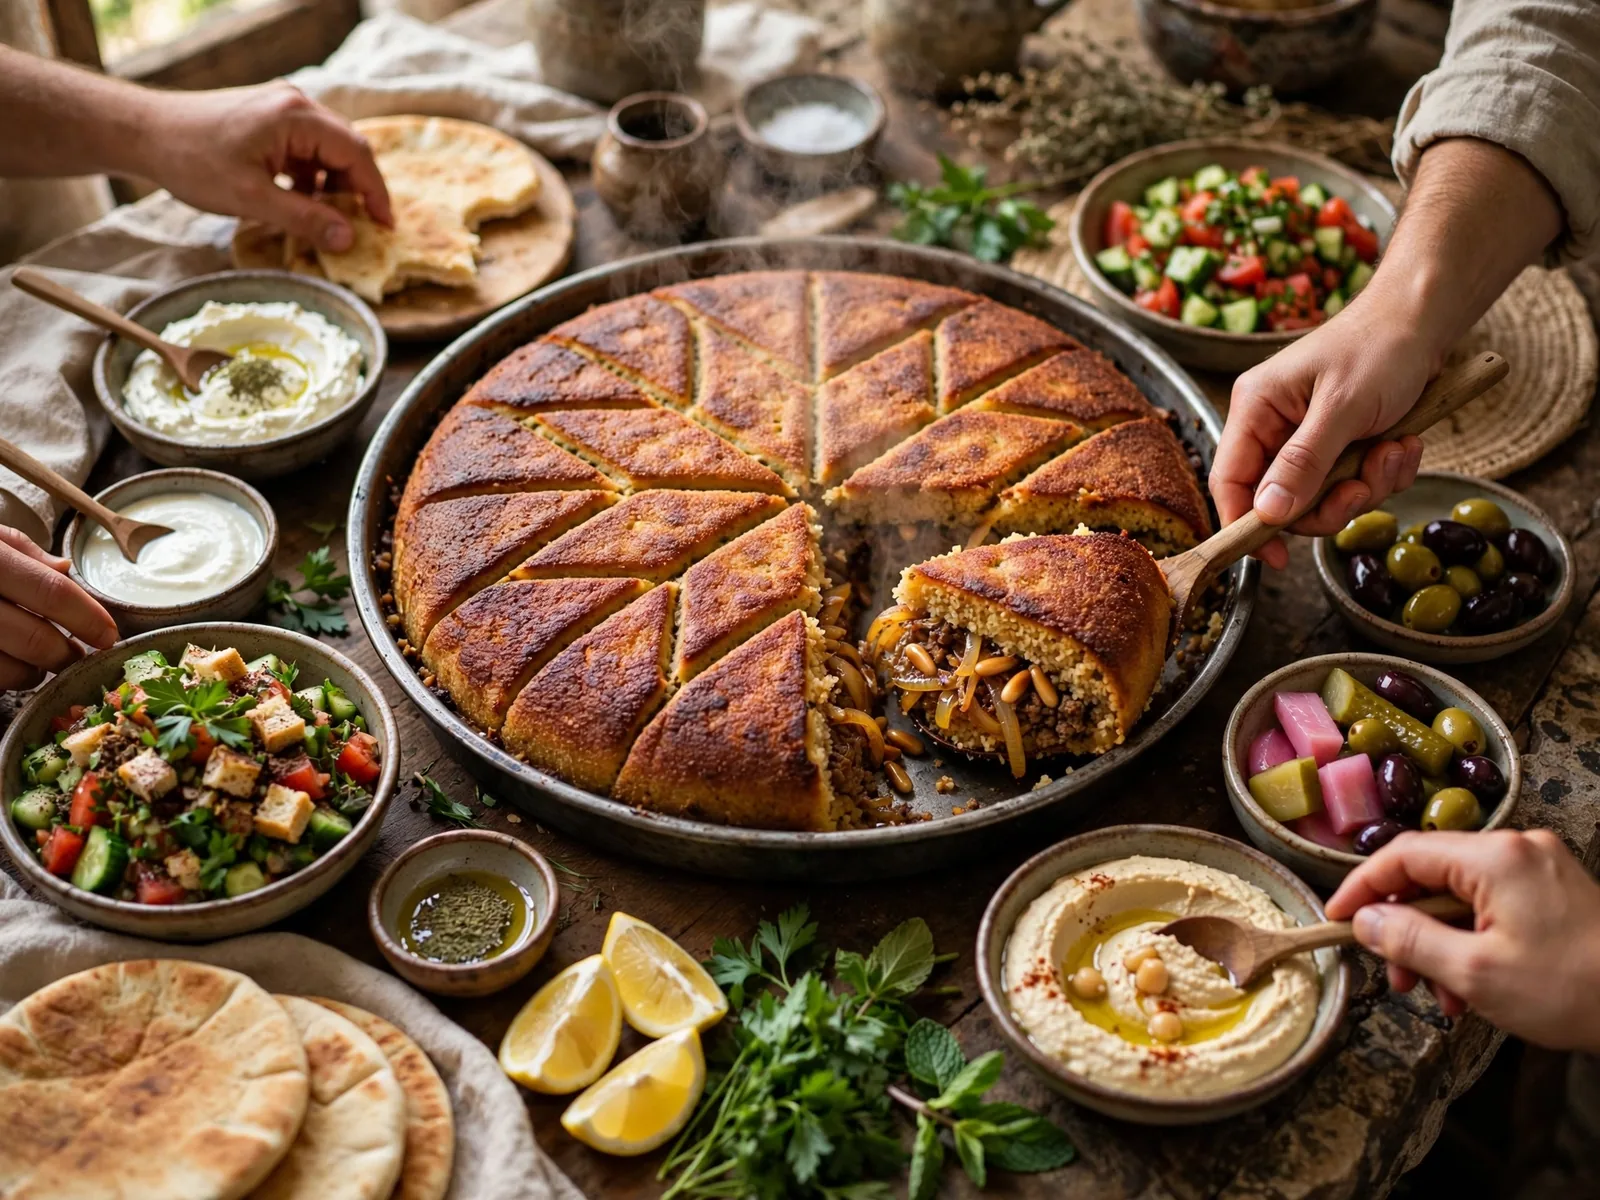
It is common at family gatherings and shared meals and is often served with yogurt, salad or other mezze.
Visual archive · plate 01
Kibbeh Bil Sanieh
An editorial view of the finished dish, kept compact so the story continues without an oversized image break.
Primary region
Lebanon / Levant
Country
Lebanon
Regional influence
The dish reflects the ingredients and cooking patterns associated with Lebanon / Levant, while household and regional versions vary.
Related food systems
- Lebanon / Levant home cooking
- Market and street-food traditions
- Regional pantry and seasonal cooking
Sources & further reading
Follow the reference trail.
Ember & Equator links outward when an institution or primary reference helps support the culinary record.
- 01Lebanese Baked KibbehExternal ↗
Maureen Abood · reference
Supports: fine bulgur and lean meat shell · cooked onion-meat-pine-nut filling · cold-water layering technique · scoring before baking · deep-golden bake and rest
Ember & Equator source review · 2026-09-17
- 02Lebanese Dishes Foreigners LoveExternal ↗
Lebanon Traveler · specialist publication
Supports: kebbeh bi sannieh as a Lebanese meat-wheat baked dish
Ember & Equator source review · 2026-09-17
Ingredient guides
Learn about the ingredients behind the dish.
These are reference guides, not a second ingredient list. Follow an ingredient when you want to understand its role, use and wider culinary context.
Ingredient
fine bulgur
Understand what it contributes, how to use it, and the dishes that reveal it best.
Ingredient
lean ground beef
Understand what it contributes, how to use it, and the dishes that reveal it best.
Ingredient
onion
Understand what it contributes, how to use it, and the dishes that reveal it best.
Ingredient
yellow onion
Understand what it contributes, how to use it, and the dishes that reveal it best.
Ingredient
pine nuts
Understand what it contributes, how to use it, and the dishes that reveal it best.
Ingredient
ground cinnamon
Understand what it contributes, how to use it, and the dishes that reveal it best.
Keep wandering
Where will this dish take you next?
Stay with the place, follow an ingredient or technique, or cross into another food culture. Each path begins with something already present in this dish.
Stay with the place
01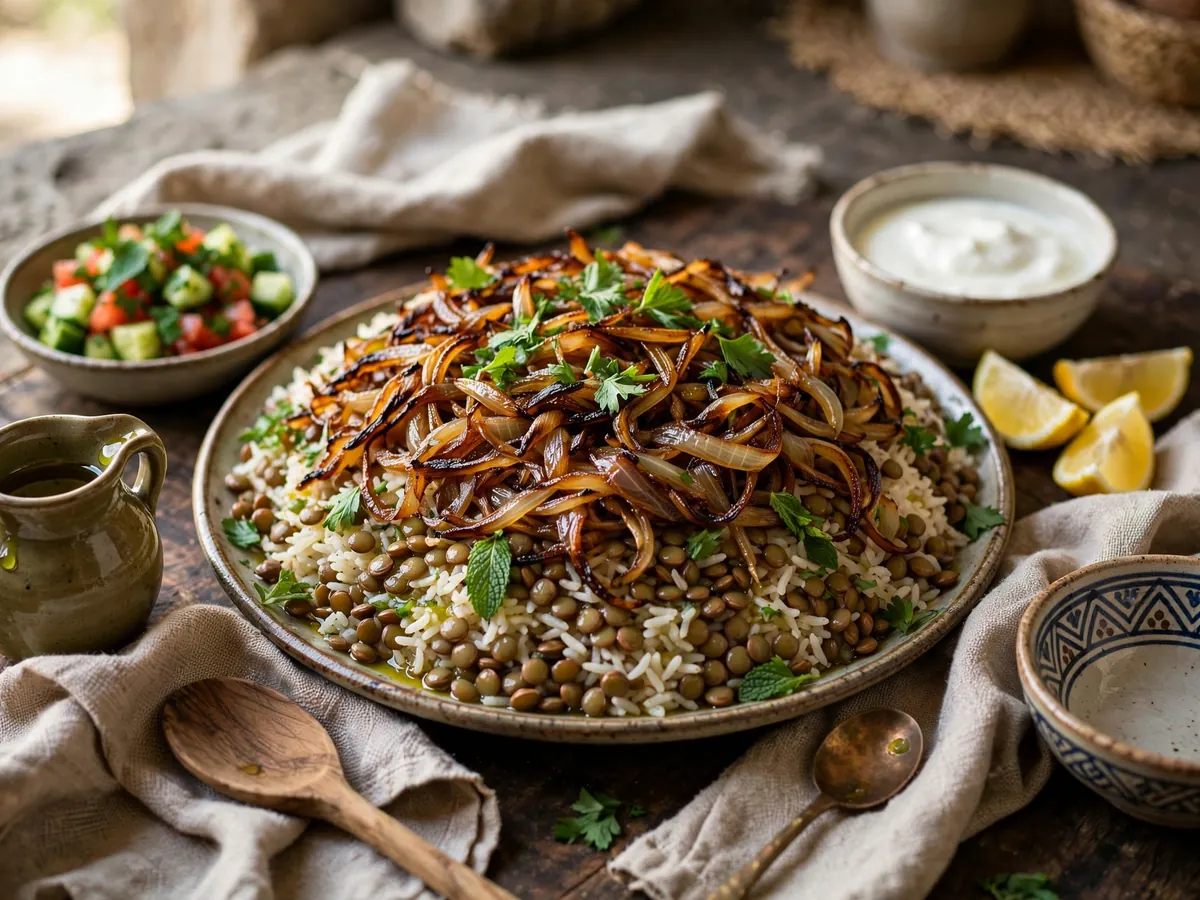
Lebanon
Mujadara
Stay in the same food culture and notice how sauté appears in another dish.
Shared thread · Sauté · onion · black pepper
Follow the method or pantry
02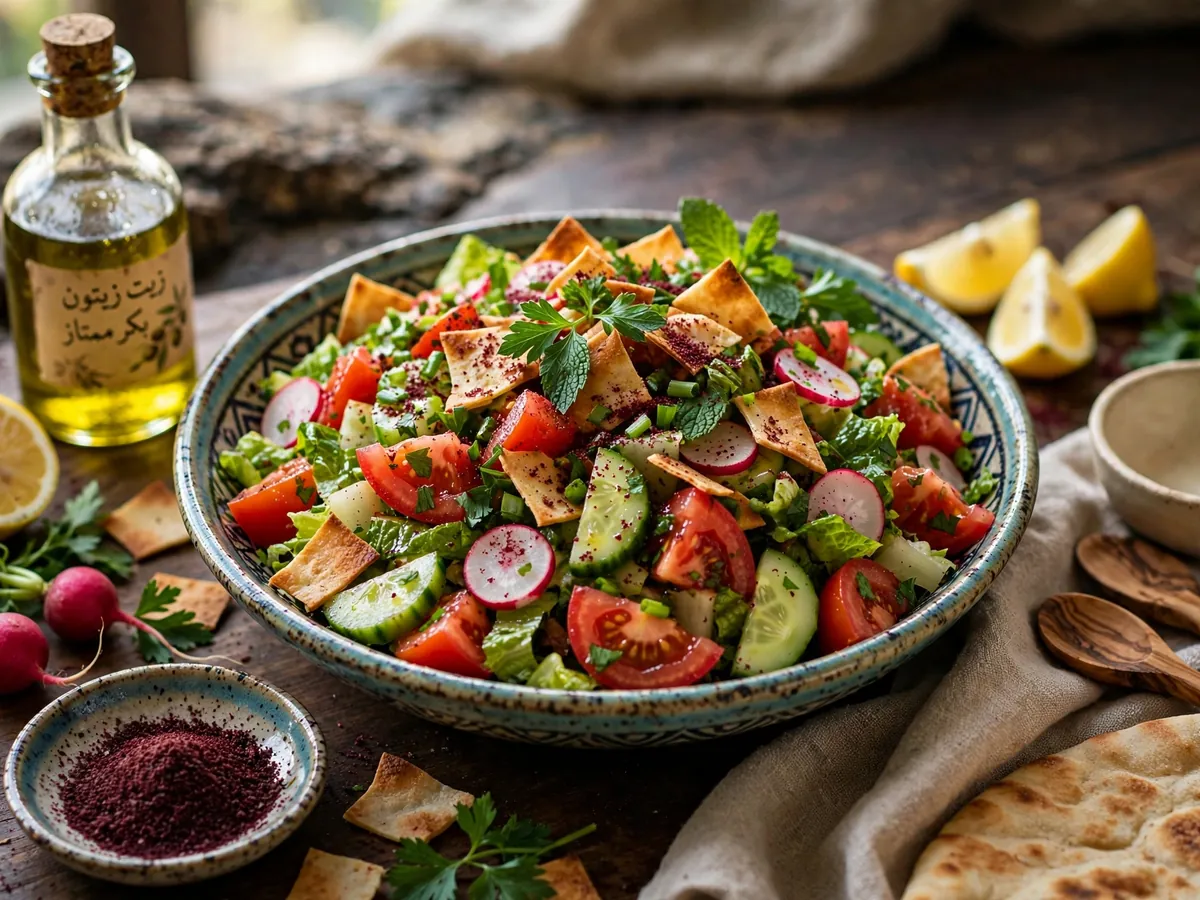
Lebanon
Fattoush
Follow the cooking method: both dishes connect through roast or bake.
Shared thread · Roast or bake · black pepper · salt
Cross a culinary border
03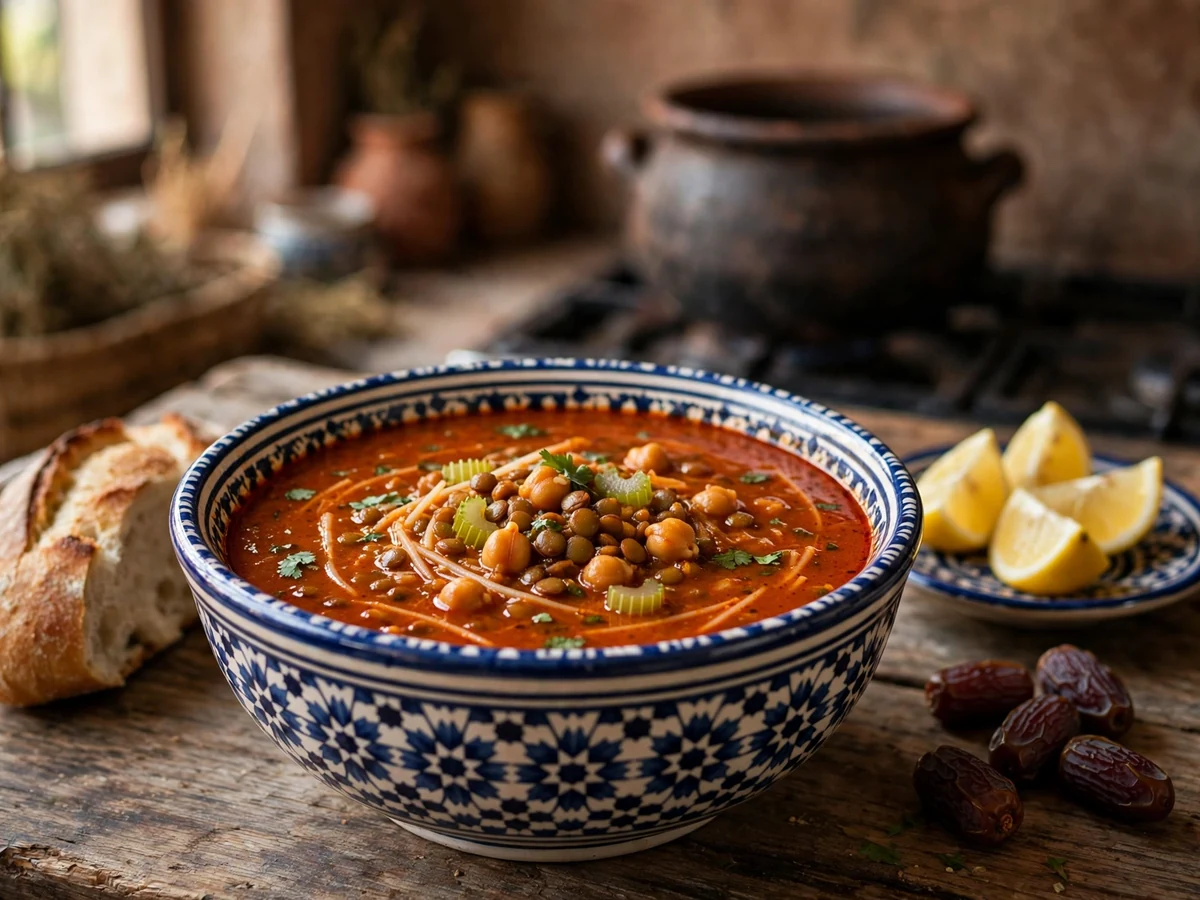
Morocco
Harira
Cross borders while keeping sauté as the common thread.
Shared thread · Sauté · yellow onion · ground cinnamon
Go one layer deeper
One small detail can open an entirely different part of food.
Continue in Ember & Equator